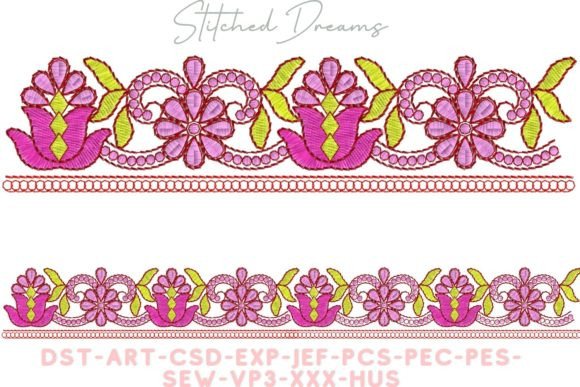
Creative Border: A Smart Embroidery Choice for Small Business Branding
First Impression: Friendly, Artful, and Professionally Handmade
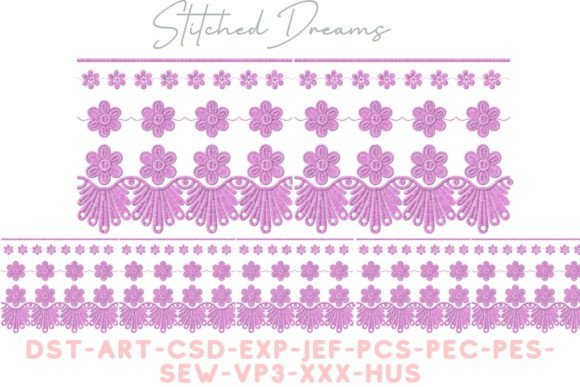
As an embroidery designer who’s digitized over 2,000 small business assets—from bakery aprons to pet brand patches—I opened Creative Border expecting charm, not clutter. And it delivers: a floral border that balances precision with warmth. It doesn’t scream “corporate” or “trend-chasing.” Instead, it feels intentionally handmade—like the kind of detail you’d stitch by hand on a boutique tote or embroider onto a florist’s uniform sleeve. That’s gold for small businesses trying to stand out without sacrificing polish. Whether your brand leans rustic, modern-minimal, or gently vintage, Creative Border adapts—not because it’s generic, but because its flow and spacing invite thoughtful integration.
Where It Shines in Real Business Use
This isn’t just a decorative border—it’s a versatile branding tool. I’ve tested Creative Border across six common small business applications, and each revealed real strategic value:
- Embroidered patches: Perfect as a framed accent around a logo or shop name—ideal for café staff badges, craft studio membership tags, or Etsy seller packaging seals.
- Apron embroidery: Works beautifully along the hem or pocket edge, reinforcing handmade credibility while avoiding visual overload.
- Cap embroidery: When scaled to 2.5" wide and placed cleanly above the visor, it adds personality without competing with front logos.
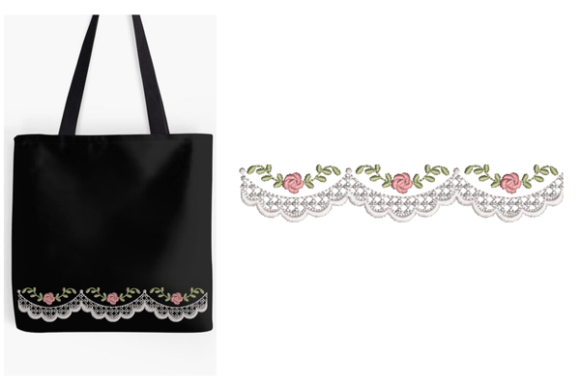
- Tote bag design: Stitches crisply along the top seam or wraps subtly around the handle base—elevating reusable merch from functional to giftable.
- Uniform accents: On chef coats, boutique blazers, or florist smocks, it signals care in craftsmanship—not just utility.
- Product packaging accents: As a stitched border on linen gift tags, fabric labels, or small pouches, it quietly reinforces brand identity at the point of unboxing.
Where to Use Creative Border With Intention
Like any strong design asset, Creative Border earns its place—but only when matched to the right context. Avoid forcing it into spaces where clarity trumps charm:
- Small patch sizes under 1.75": Fine details (especially inner flower outlines) may blur or vanish. Always test stitch at your target size first.
- Cap fronts with tight curves: The outer edge can distort if hooped too aggressively—opt for lower-density fill or simplify inner elements before digitizing.
- Dark uniforms with low-contrast thread: Its delicate stems and petals need strong thread color contrast to read clearly after repeated washing.
- Textured fabrics like heavy canvas or bouclé: High stitch density may sink or pucker—pair with cutaway + tear-away stabilizer and reduce density slightly.
- Items requiring frequent laundering: Confirm the design uses satin-stitch borders (not dense fill) where possible—cleaner wash retention and less thread wear.
How Creative Border Strengthens Your Brand Identity
In small business merch, consistency builds trust—and Creative Border helps deliver it without repetition fatigue. Unlike a logo that must stay identical everywhere, a well-placed border supports recognition *around* your core mark: on a coffee sleeve, a workshop apron, and a customer thank-you pouch, it becomes a subtle signature. That repetition—done thoughtfully—signals professionalism and attention to detail. Customers don’t just see “a café”; they feel “a cared-for experience.” For handmade brands especially, this border whispers quality before the product is even touched. It lifts perceived value, encourages social sharing (“Look at this gorgeous tote!”), and makes your custom apparel feel intentional—not outsourced.
Practical Designer Notes Before You Stitch
Before sending Creative Border to production—or uploading it to your embroidery machine—run these checks:
- Test in black and white first: Print a grayscale mockup to assess balance, spacing, and visual weight—no thread colors to distract.
- Verify small-patch viability: Resize to your smallest intended use (e.g., 1.5" embroidered patch) and check if stems, leaves, and petal edges remain distinct.
- Review thread color contrast: Especially on dark fabrics—light pastels may disappear; deeper tones like sage, terracotta, or navy often carry more presence.
- Inspect spacing between motifs: Tight loops or overlapping flowers can cause thread nesting—ensure clean separation for smooth commercial embroidery runs.
- Confirm hoop compatibility: Measure the widest point of Creative Border and match it to your standard hoop size—avoid stretching or re-hooping mid-run.
- Test on real fabric: Run a sample on your most common substrate (e.g., twill for caps, cotton duck for totes) with appropriate stabilizer.
- Create a printable mockup: Show clients how Creative Border integrates with their logo or layout—builds confidence before stitching begins.
- Compare beside other design assets: Does it harmonize with your current logo, typography, and color palette—or clash in rhythm or scale?
- Confirm commercial licensing: Since this is a digital embroidery file intended for small business merch, ensure your purchase includes rights for resale, branded patches, and client projects.
Final Thought: More Than a Border—A Branding Anchor
Creative Border succeeds because it understands its role: not to dominate, but to dignify. In a market flooded with cookie-cutter logos and mass-printed slogans, a thoughtful floral border stitched onto a local florist’s apron or a handmade soap maker’s gift pouch says something quiet but powerful—“We made this *with you* in mind.” For embroidery shops and small business owners alike, it’s a rare digital embroidery design that bridges artistry and utility without compromise. Use it deliberately, test it rigorously, and let it do what borders do best: frame what matters.